
Everything swings in cycles, right? Hemlines, heels, even food trends. And as crafters and artists, we often embrace the trends too, even if we continue with our first love.
First came the resurgence of knitting and crochet, then quilting, and now garment sewing is enjoying its moment in the spotlight. While making clothes technically has a lot in common with making a quilt or a bag or a table runner (all use fabric, thread, pins and a sewing machine), the skill sets also vary quite a bit.
Which isn’t to say that if you’re a home hobby sewist, you’ll have trouble making clothes - that’s not necessarily true. If you bear in mind that sewing clothes requires a bit of thinking in 3-D and and just because a particular piece of a pattern isn’t visible on the finished garment doesn’t mean you can leave it out, there’s a good chance you can jump right in and make something fabulous.
Here are 5 tips to get you started on (or reacquainted with) garment sewing.
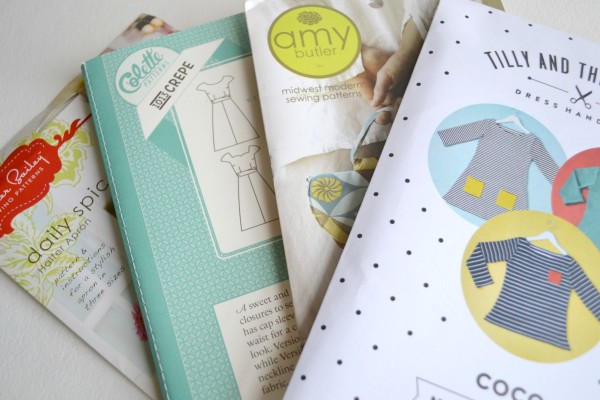
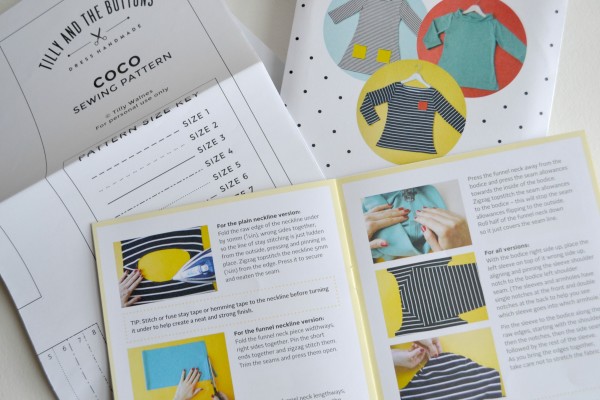
1. Choose a good pattern
Patterns developed by indie designers have come a long way in the last few years. They are not the thin, always-ripping-and-tearing-to-shreds tissue patterns that you find from the big pattern makers (you know, the ones you find in those big metal drawers at the chain sewing stores). Today’s patterns usually come printed on heavy paper or you can print them out yourself (if you buy the PDF version).
But consider purchasing the actual pattern rather than buying the PDF, if you can. Although they can be pricey (usually in the $15-$20 range), you won’t have to print everything out on standard copy paper and piece it all together before using it. It might not sound like too much of a hassle but it's a step you might be happy to skip if the mood hits you to sew and you want to jump right in.
Plus, the instructions that come with the printed patterns are usually beautifully illustrated or photographed guide books to help you along. Trust me, they’re a far cry from the sketchy drawings you get on traditional pattern instructions. And most indie pattern designers have a robust website full of additional help, tips and tricks for working with their patterns. You will never be lost for guidance!
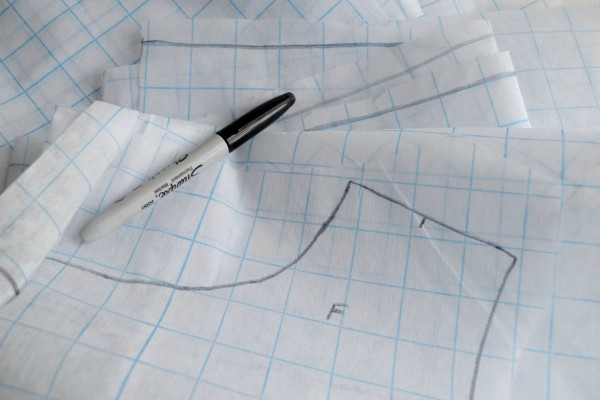
2. Using pattern tracing tissue instead of cutting your pattern
Whether you get the actual printed pattern or run it out from your home printer, you’ll have a nice weighty pattern to use, which is great. However, it’s better if you don’t use it. Huh?
Pattern tracing tissue, which is very inexpensive and available by the yard at any fabric store, is much better for making pattern pieces from. Here's why.
It comes with grid markings, which makes it easier to line up on your fabric or adjust the fit of your garment when you trace it from the original pattern.
It’s very soft, making it easier and more accurate to cut through.
It’s more durable than tissue paper patterns.
To use the tracing tissue, you just lay your paper pattern on the floor, place the pattern tracing tissue over the top, and trace the lines with a sharpie. You can even use a pencil if you're trying to alter the pattern, such as lengthen or shorten it, then go over it with sharpie once you have the lines right. That way you save your paper patterns and keep them tidy and uncut and all in one piece.
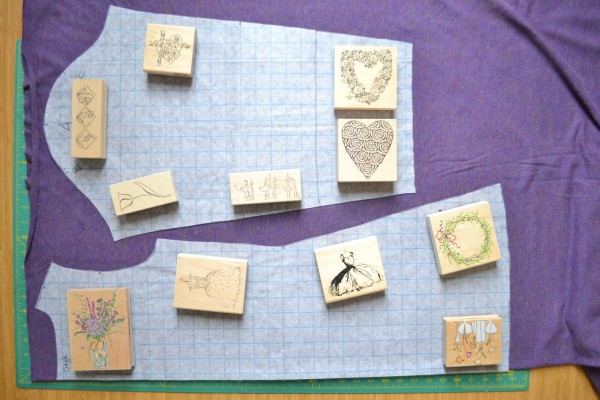
3. Don’t pin - use pattern weights or what you have (rubber stamps, soup cans, mugs, bean bags, etc.)
Pinning your pattern to your fabric takes a lot of time, and the pins often get in the way when you’re cutting things out. It’s much more efficient to use something to weigh down the edges of your pattern pieces. You can purchase "official" pattern weights (which I'm sure are lovely) or just get creative - something wide and flat but not so heavy that it causes the pattern pieces to bend is ideal. I use my bigger rubber stamps and they do the job perfectly.
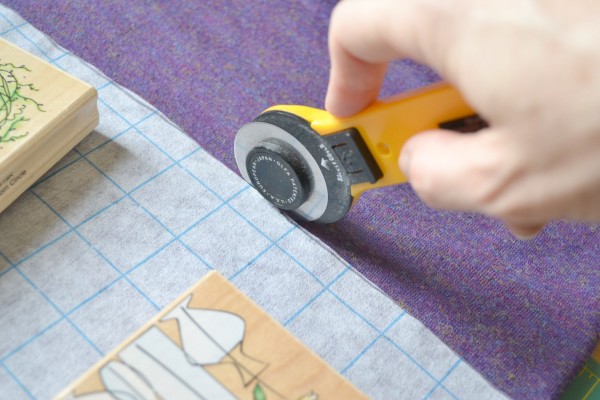
4. Cut with a rotary cutter
I admit that I was a little dubious when cutting my first dress this way - while I’d used the rotary cutter for many years for my quilts, I’d never tried it on garments. But lo and behold, it really is quick and very accurate. I use the larger size of rotary cutter but the smaller one would be good for smaller pieces, like baby/toddler clothes, where there are tighter contours. You will, of course, need a cutting mat to use under your rotary cutter (assuming you don’t want pattern-shaped slices in your table or floor, but who am I to judge?!?)
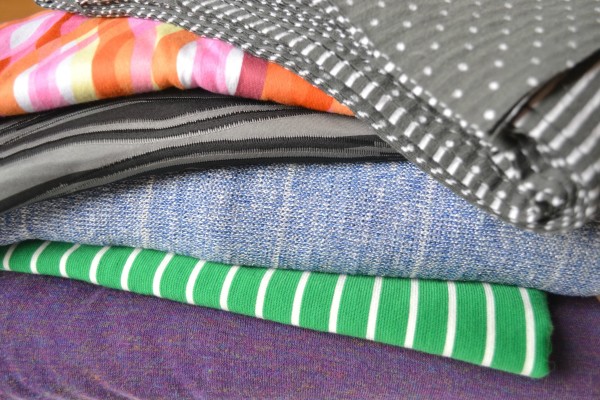
5. Consider starting with knits
This tip might surprise you, since a lot of people thing knits are harder to sew with than wovens. And that might be true, since thin, slinky knits to tend to slip around a lot. But there are tons of knits available that are in the mid-weight range that are study enough to sew easily, but soft enough to wear comfortably.
Knits also have a more forgiving fit than wovens do, so if your sewing just happens to be a smidge off (not that I’d ever know about that, cough cough), chances are your garment will still fit fine and look great. And of course knits don’t unravel, so you don’t have to worry about finishing your seams - you can leave inside seams as is and the same goes for any outside edges - the only finishing necessary is to make it how you like it. I’ve made tops and dresses with finished and unfinished edges and both have looked equally good, they just convey different styles. It really leaves you a lot of flexibility when it comes to expressing your personal vibe.
I hope these tips are enough to give you confidence to try your hand at garment sewing if you’re new to it, or if you haven’t tried it in a while. Or if you’ve recently rediscovered it and have other tips or tricks, I’d love to hear them - leave us a comment below!